MPPT vs PWM — Which Do You Need?
An MPPT controller continuously finds the panel's optimal operating voltage (maximum power point) and converts excess voltage into additional charge current. It's essentially a DC-DC step-down converter tuned to solar panels.
- Efficiency: 93–99% vs 70–80% for PWM
- Works with high-voltage series panel strings (common with 60V–150V input)
- 20–30% more power than PWM in real conditions
- More expensive: $40–$300+
- Required for any serious system over 200W
A PWM controller acts as a simple switch, rapidly connecting and disconnecting the panels from the battery to control charge rate. Simple, cheap, but wasteful — the panel must be matched closely to battery voltage.
- Efficiency: 70–80%
- Panel Vmp must be close to battery voltage (e.g., 17–18V panel for 12V system)
- Cannot use high-voltage series strings
- Cheap: $15–$60
- Only practical for very small systems (<100W)
• PWM: Panel is pulled down to ~14V → 200W × (14/38) = ~73W harvested
• MPPT: Controller keeps panel at 38V, converts extra voltage to current → ~185W harvested
The MPPT controller extracts 2.5× more power from the same panel.
How to Size an MPPT Controller
Two constraints to check:
1. Amperage (output current)
The controller must handle the charge current going into the battery:
CC Amps = (Solar Array Watts × 1.25) ÷ Battery Voltage

Example: 400W solar, 12V battery → (400 × 1.25) ÷ 12 = 41.7A → use 40A controller
The 1.25× factor accounts for the fact that solar panels can briefly produce more than rated power in cold, bright conditions (temperature coefficient).
2. Voltage (input voltage)
The controller's max input voltage must exceed the open-circuit voltage (Voc) of the entire series string, with a cold-weather margin:
Max input voltage check: Series V_oc (at coldest expected temp) < Controller max V

For a 100/30 controller (100V max): 3× panels in series at 42V V_oc = 126V → TOO HIGH
For a 150/35 controller (150V max): 3× panels at 42V = 126V → OK ✓
MPPT Controller Size Reference
| Controller Size | Max Solar (12V system) | Max Solar (24V system) | Max Solar (48V system) |
|---|---|---|---|
| 10A MPPT | ~120W | ~240W | ~480W |
| 20A MPPT | ~240W | ~480W | ~960W |
| 30A MPPT | ~360W | ~720W | ~1,440W |
| 40A MPPT | ~480W | ~960W | ~1,920W |
| 60A MPPT | ~720W | ~1,440W | ~2,880W |
| 85A MPPT | ~1,020W | ~2,040W | ~4,080W |
| 100A MPPT | ~1,200W | ~2,400W | ~4,800W |
Calculated at 1.0× (no headroom factor). In practice, size up one step to allow for future panel additions and peak production conditions.
Top MPPT Controller Picks
🇺🇸 Pricing on Amazon USDisclosure: Amazon links are affiliate links. We may earn a commission at no extra cost to you.
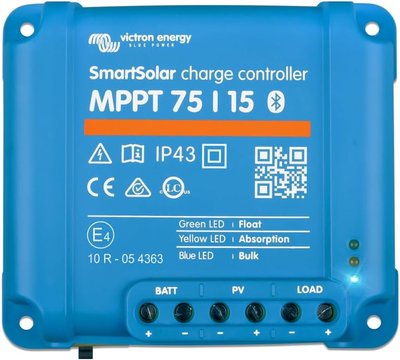
Victron Energy SmartSolar MPPT 75/15
- 15A output, 75V max input
- Max solar: 220W (12V), 440W (24V)
- Bluetooth monitoring
- 98% peak efficiency
- LiFePO4 compatible

Victron Energy SmartSolar MPPT 100/20-48 (SCC110020160R)
- 20A output, 100V max input
- Max solar: 290W (12V), 580W (24V), 1160W (48V)
- Bluetooth monitoring
- 98% peak efficiency
- LiFePO4 compatible
Victron Energy SmartSolar MPPT 100/30
- 30A output, 100V max input
- Max solar: 440W (12V), 880W (24V), 1760W (48V)
- Bluetooth monitoring
- Temperature sensor included
- 98% peak efficiency
- LiFePO4 compatible
Renogy Rover 40A MPPT
- 40A output, 100V max input
- Max solar: 520W (12V), 1040W (24V)
- Bluetooth monitoring
- Built-in display
- 97% peak efficiency
- LiFePO4 compatible
EPEver Tracer 4215BN
- 40A output, 150V max input
- Max solar: 520W (12V), 1040W (24V)
- RS485 monitoring
- 97% peak efficiency
- LiFePO4 compatible
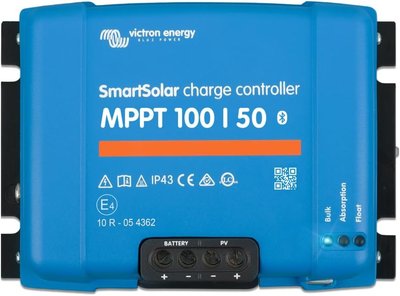
Victron Energy SmartSolar MPPT 100/50
- 50A output, 100V max input
- Max solar: 700W (12V), 1400W (24V)
- Bluetooth monitoring
- 98% peak efficiency
- LiFePO4 compatible
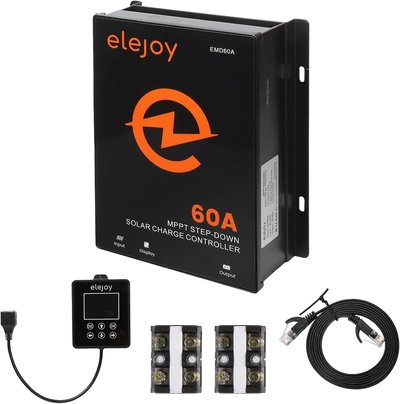
ELEJOY 60A MPPT 10-60V Adjustable
- 60A output, 60V max input
- LCD External display
- 99% peak efficiency
- LiFePO4 compatible
Renogy Rover Elite 60A MPPT
- 60A output, 150V max input
- Max solar: 800W (12V), 1600W (24V), 3200W (48V)
- Bluetooth monitoring
- Built-in display
- Temperature sensor included
- 98% peak efficiency
- LiFePO4 compatible
Victron Energy SmartSolar MPPT 150/85
- 85A output, 150V max input
- Max solar: 1200W (12V), 2400W (24V), 4900W (48V)
- Bluetooth monitoring
- Temperature sensor included
- 98% peak efficiency
- LiFePO4 compatible
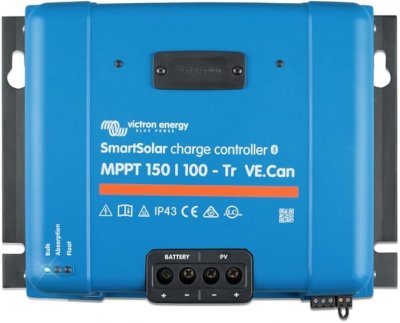
Victron Energy SmartSolar MPPT 150/100 VE.Can
- 100A output, 150V max input
- Max solar: 1450W (12V), 2900W (24V), 5800W (48V)
- Bluetooth monitoring
- Temperature sensor included
- 98% peak efficiency
- LiFePO4 compatible
Wiring Tips
- Wire gauge: Size wires for the controller's amperage rating plus 25% safety margin. For a 30A controller: 30 × 1.25 = 37.5A → use 8 AWG (good to 40A at 12V DC).
- Fuse/breaker on both sides: Place a fuse or circuit breaker on the solar input and on the battery output within 12 inches of the battery.
- Cable length: Minimize the distance between panels and controller, and between controller and battery. Every foot of undersized wire is lost power.
- Temperature sensor: Many MPPT controllers have a battery temperature sensor input. Use it — it adjusts charge voltage to protect batteries in cold weather.
Complete Your System
Battery Banks
LiFePO4 batteries pair perfectly with MPPT controllers for maximum efficiency.
Browse BatteriesNeed help sizing your charge controller?
Our system calculator automatically recommends the right MPPT controller size based on your solar array and battery system.
Size My Charge Controller