Pack Builder – Series / Parallel Configuration
Safety Considerations
- Always use a BMS (Battery Management System) – it protects against overcharge, over-discharge, overcurrent, and cell imbalance.
- Use fused wiring – size your fuses to the max continuous discharge of your pack.
- Match cells – use cells of the same brand, model, and ideally capacity-tested within 50mAh of each other.
- Spot-weld, don't solder – soldering overheats cells and damages them. Use a spot welder with nickel strip.
- Ventilation – 18650 cells can vent hot gas if abused. Ensure your enclosure has ventilation.
Ready-Made Alternative: Portable Power Stations
🇺🇸 Pricing on Amazon USDon’t want to spot-weld 200 cells? Portable power stations (EcoFlow, Bluetti, Anker SOLIX, Jackery) are all-in-one units — battery, inverter, and charge controller included. Lithium-iron-phosphate (LiFePO4), 3,000+ cycles, just plug and play. Costs more per kWh than DIY 18650 but zero risk and no learning curve.
Disclosure: Amazon links are affiliate links. We may earn a commission at no extra cost to you.
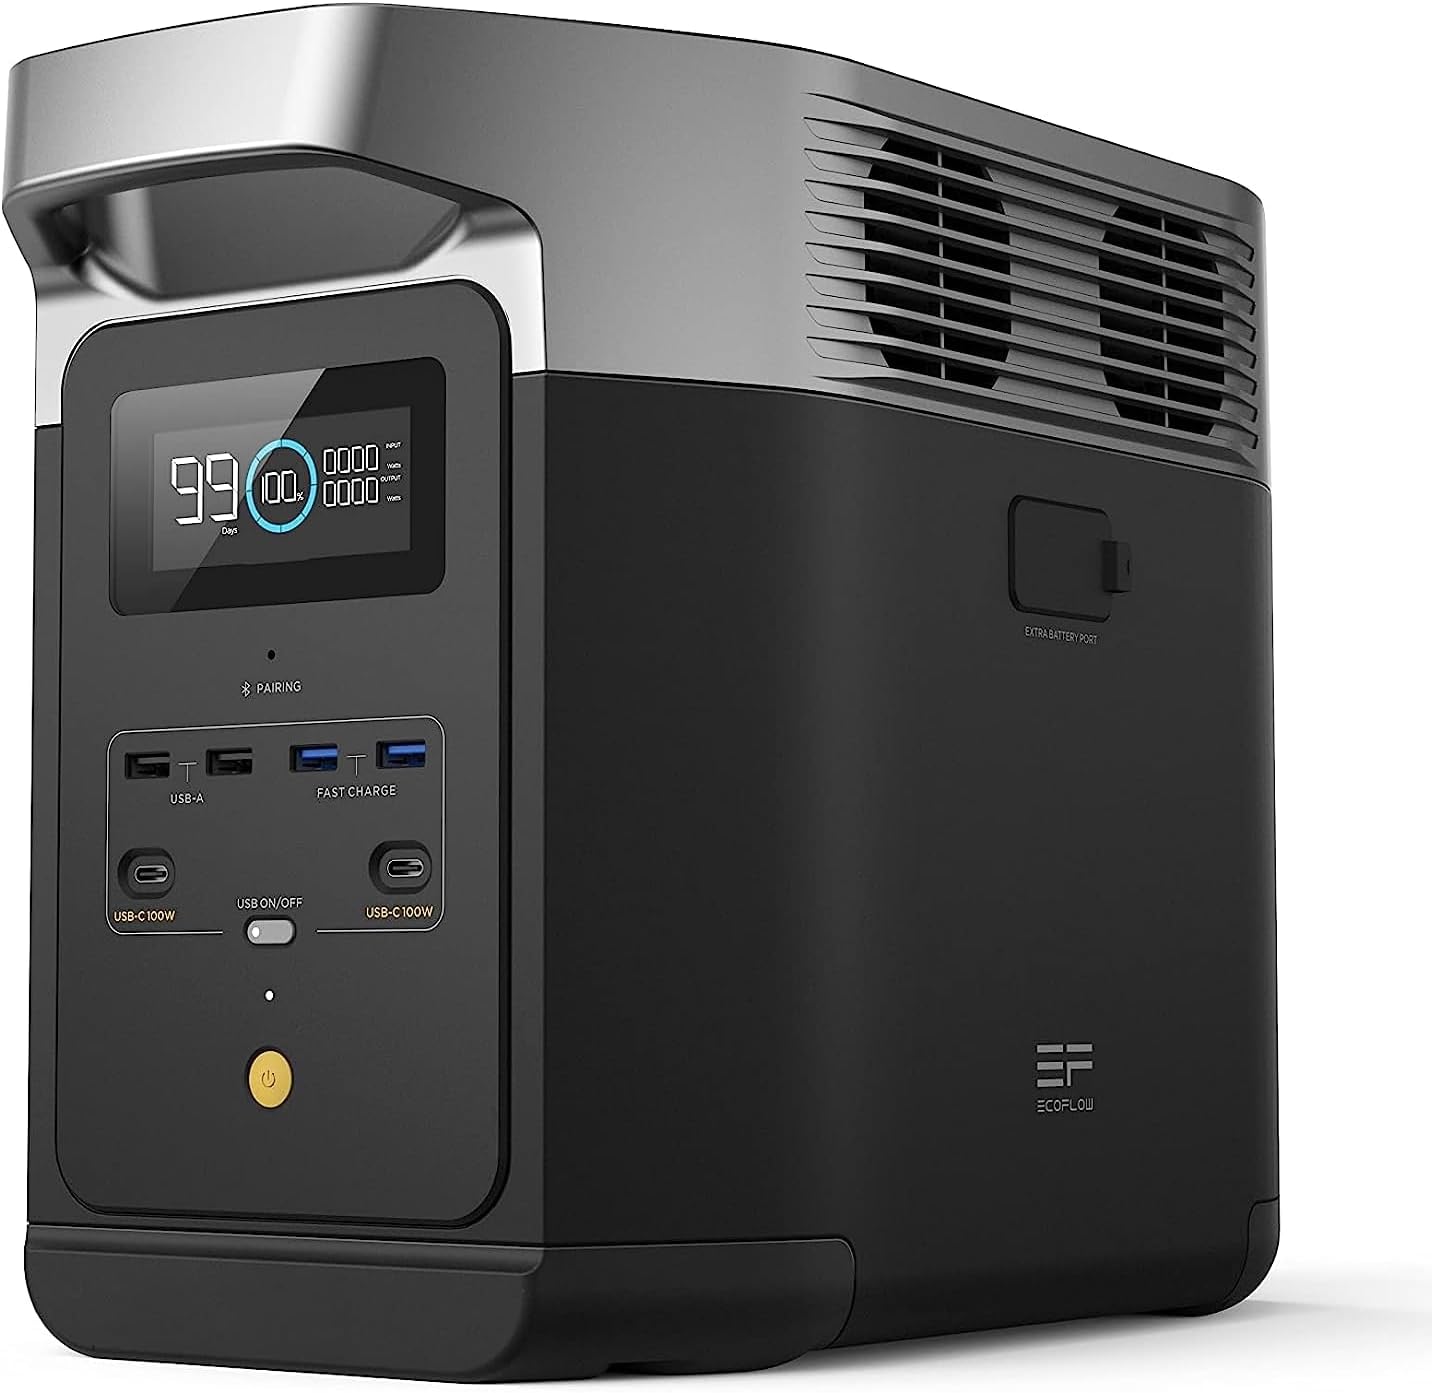
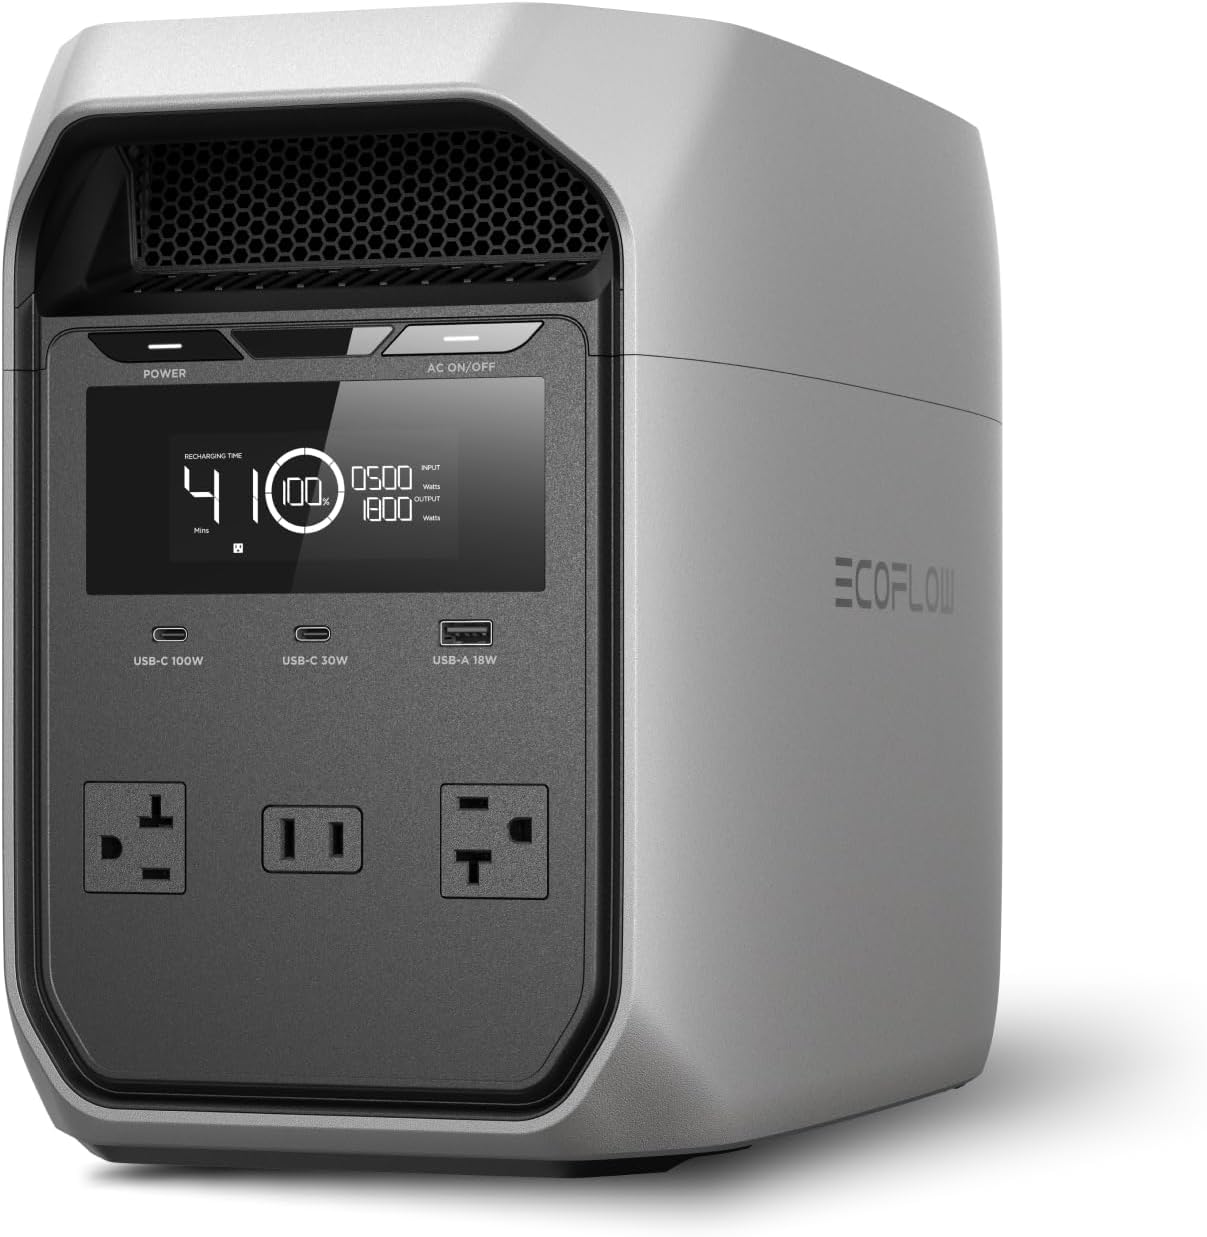
EcoFlow
DELTA 3 Classic
- 1,024 Wh LiFePO4
- 1,500W output
- 500W max solar in
- Expandable to 5,120 Wh
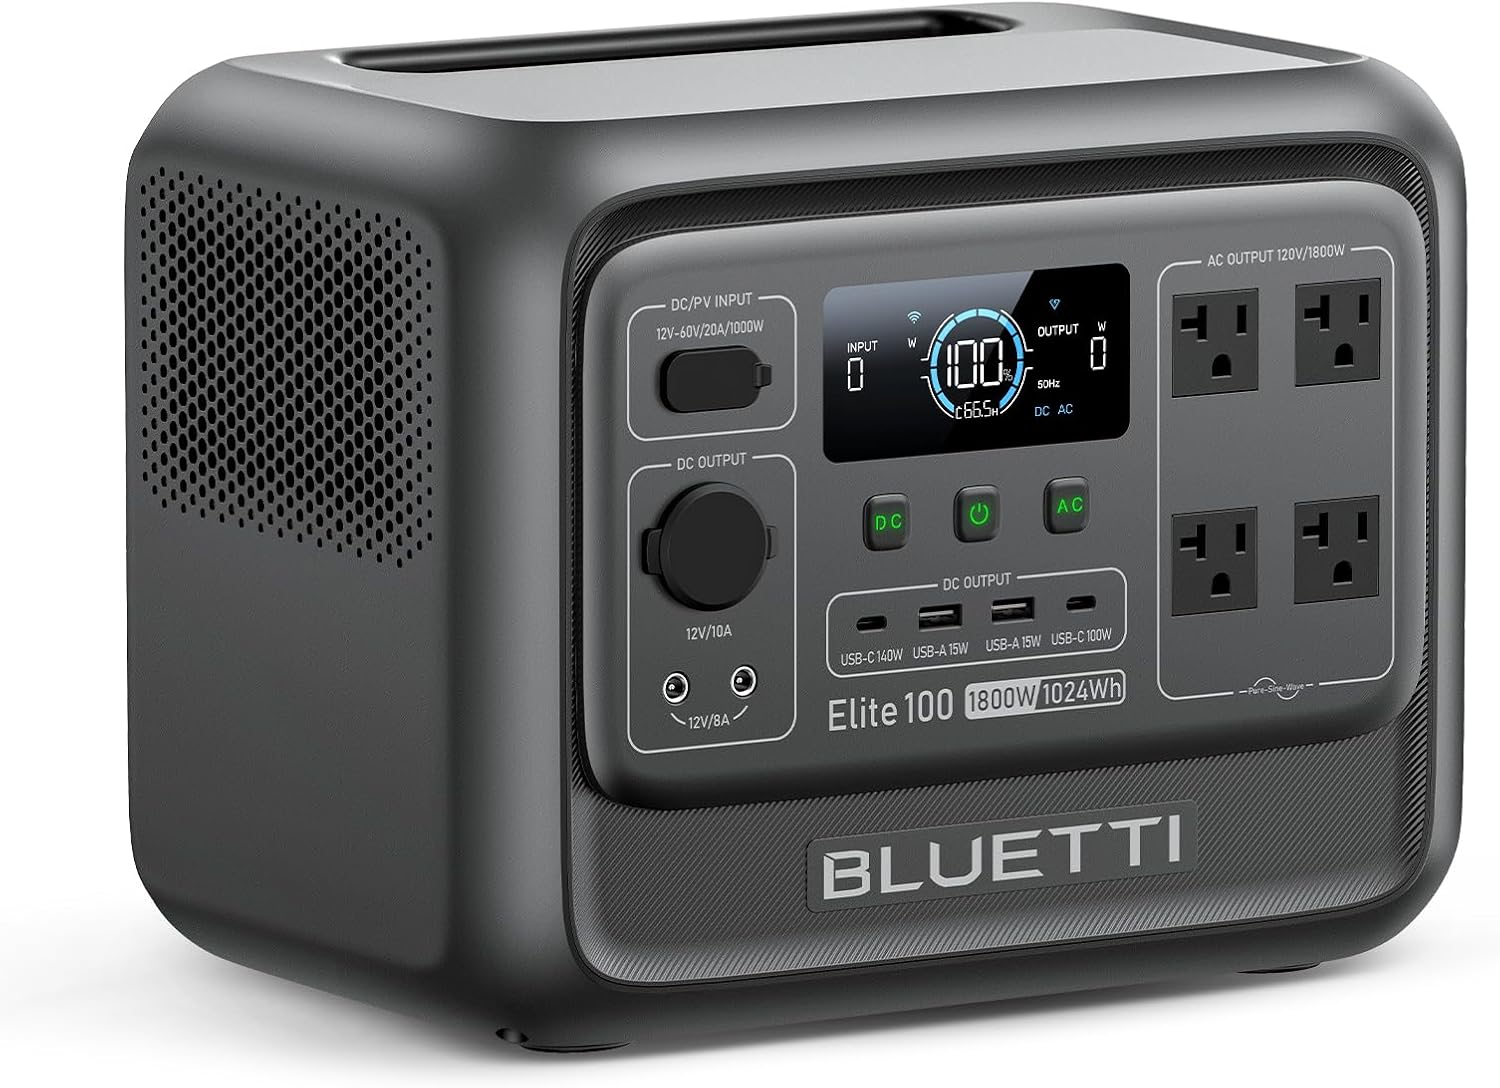
Bluetti
Elite 100 V2
- 1,024 Wh LiFePO4
- 1,800W output
- 1000W max solar in
- Expandable to 2,048 Wh
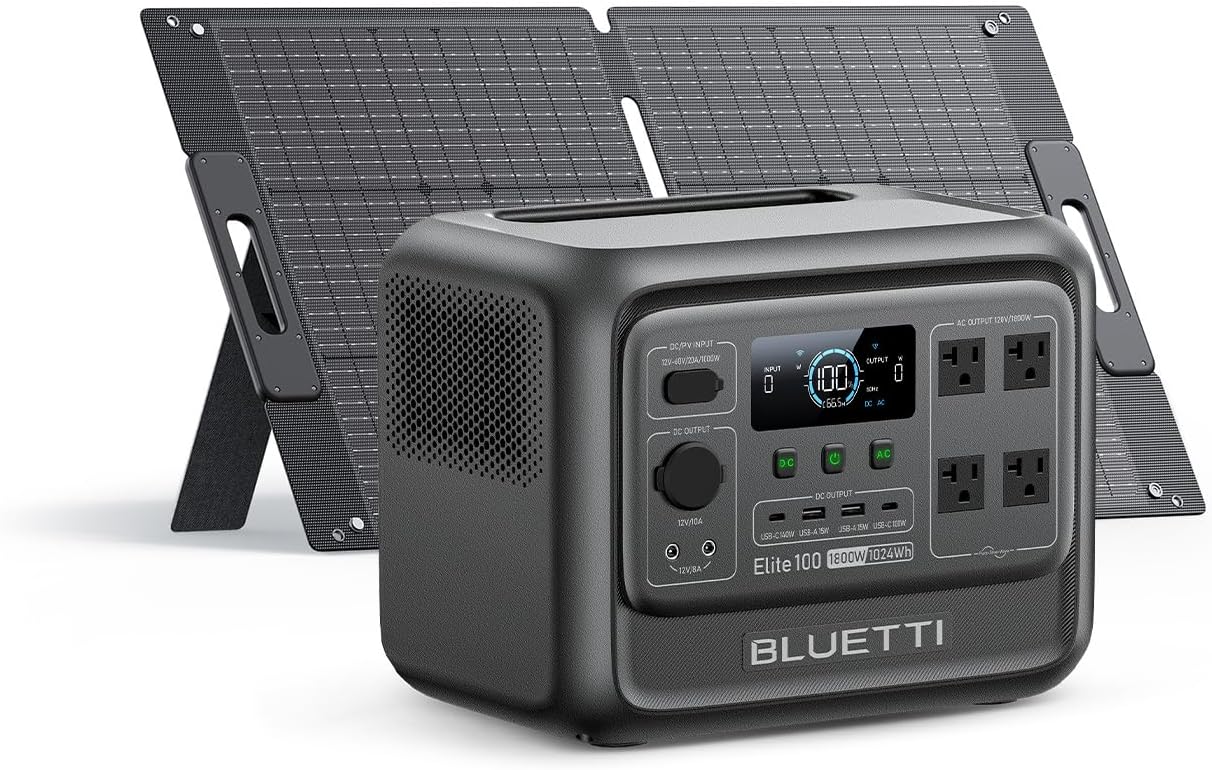
Bluetti
Elite 100 V2 + 100W Solar Kit
- 1,024 Wh LiFePO4
- 1,800W output
- 1000W max solar in
- Includes 100W solar panel
- Expandable to 2,048 Wh
Prefer drop-in batteries?
DIY 18650 packs save money but require spot welding, cell matching, BMS wiring, and ongoing maintenance. Ready-made LiFePO4 drop-in batteries skip all of that — and last 4–5× longer than 18650 li-ion.
Browse LiFePO4 Drop-In Batteries18650 Powerwall FAQ
How do I calculate an 18650 battery pack size?
Multiply cells in series (S) by 3.7V to get nominal pack voltage. Multiply cells in parallel (P) by your cell capacity in mAh to get pack capacity. Total energy in watt-hours = (S × 3.7) × (P × mAh ÷ 1000). For example, a 7s4p pack with 3000 mAh cells gives 25.9V × 12 Ah = 311 Wh. The calculator above runs all this automatically and shows voltage, capacity, and SOC levels.
How many 18650 cells do I need for a powerwall?
A 1 kWh DIY powerwall typically uses ~120 cells (e.g., 14s9p with 3000 mAh cells = 1.13 kWh). A 5 kWh wall needs around 600 cells. Most DIY builders start with a 7s or 14s configuration to match 24V or 48V battery chargers and inverters. Use the calculator above to see common configurations from 7s to 16s.
What voltage is a 13s 18650 pack?
A 13s pack has nominal voltage of 48.1V (13 × 3.7V), with full charge at 54.6V (13 × 4.2V) and minimum at 36.4V (13 × 2.8V). 13s is popular for e-bikes and matches the typical 36V “48V” naming convention used in the EV battery world. The calculator displays state-of-charge voltages for any series count.
Do I need a BMS for my 18650 pack?
Yes. A BMS (Battery Management System) is mandatory for any lithium pack. It protects against overcharge (>4.2V/cell), over-discharge (<2.5V/cell), short-circuit, overcurrent, and cell imbalance. Match the BMS S-count to your pack (e.g., 14s pack needs a 14s BMS) and rate it for your maximum expected current with 25% headroom.
Can I solder 18650 cells together?
No — soldering overheats the cell internals and can damage the separator, increasing the risk of fire. Always spot-weld nickel strip to the cell terminals using a battery spot welder. Quality spot welders for DIY use cost $80–$200 and are essential for safe pack assembly.
Are used 18650 cells safe for a powerwall?
Salvaged cells from old laptop batteries can work but require capacity testing and internal-resistance matching before assembly. Mismatched cells in parallel cause uneven loading and reduce pack life. Most DIY builders test every cell with a hobby charger or dedicated tester (e.g., Opus BT-C3100) and group within 50 mAh tolerance. New cells from reputable suppliers eliminate this work.
What is an 18650 pack builder and how does it work?
An 18650 pack builder is a calculator that turns a cell configuration into pack specs. You enter cells in series (S), cells in parallel (P) and the capacity of one cell in mAh. The builder multiplies S by 3.7V for nominal voltage and P by the cell mAh for capacity, then combines them into watt-hours. This page also draws the wiring diagram, lists state-of-charge voltages, and sizes the BMS, fuse and cables for the current your pack will deliver.
Which 18650 configuration do I need for a 12V, 24V or 48V system?
For a 12V system use 3s (11.1V nominal) or 4s (14.8V nominal, 16.8V at full charge, so check your inverter’s upper voltage limit). For 24V use 7s (25.9V nominal, 29.4V full). For 48V use 13s (48.1V, 54.6V full) or 14s (51.8V, 58.8V full). 14s is the most common DIY powerwall choice because it matches 48V inverters and chargers; always confirm your inverter accepts the pack’s full-charge voltage.