Why Balance First?
When two batteries at different voltages are connected in parallel (positive-to-positive, negative-to-negative), current flows instantly from the higher-voltage battery into the lower one. The only thing limiting this current is the wire resistance and the batteries' internal resistance — both extremely low.
I = V / R = 0.4V / 0.002Ω ≈ 200 AmpsThat's enough to melt thin wires instantly, weld terminal connections, blow fuses, and trip or damage the BMS.
Even a small voltage difference of 0.2V can produce over 100A of inrush current. LiFePO4 batteries have a very flat voltage curve between 20-80% state of charge (staying around 13.2-13.3V), so two batteries at different charge states might appear close in voltage but still push significant current.
The Rule
Method 1: Charge Individually (Recommended)
The safest approach: charge each battery separately to the same voltage using a LiFePO4-compatible charger. This is the method recommended by every major battery manufacturer.
Steps
- Connect your charger to one battery at a time
- Charge until full (charger shows complete / float mode)
- Disconnect charger, let battery rest 10-15 minutes
- Measure open-circuit voltage with a multimeter
- Repeat for each battery
- Verify all batteries are within 0.1V of each other
- Connect them together
What You Need
- LiFePO4 charger (14.4-14.6V charge, 13.6V float)
- Multimeter
- Patience — charge each battery fully before moving to the next
1 Charge Each Battery
2 Verify Voltage
3 Connect in Parallel
How Long Does It Take?
Charging time depends on your battery capacity and charger amperage. The formula is simple:
Example: 100Ah battery with a 20A charger ≈ 5 hours to full charge
| Battery Capacity | 10A Charger | 20A Charger | 30A Charger | 40A Charger |
|---|---|---|---|---|
| 50 Ah | 5 h | 2.5 h | 1.7 h | 1.25 h |
| 100 Ah | 10 h | 5 h | 3.3 h | 2.5 h |
| 200 Ah | 20 h | 10 h | 6.7 h | 5 h |
| 300 Ah | 30 h | 15 h | 10 h | 7.5 h |
Times are approximate. The CV (constant voltage) stage near full charge slows down, so actual times may be 10–20% longer.
Recommended LiFePO4 Chargers
These AC-to-DC chargers plug into a standard wall outlet and charge your LiFePO4 batteries safely using a multi-stage charging profile. Pick a charger that matches your battery’s system voltage.
12V System Chargers
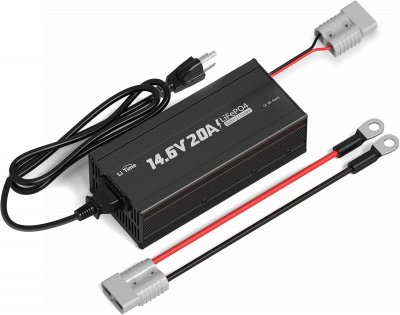
LiTime
12V 20A LiFePO4 Charger
- 20A / 292W output
- 14.6V charge voltage
- 3-stage charging (CC/CV/float)
- Can wake dead BMS
- Wall-mountable
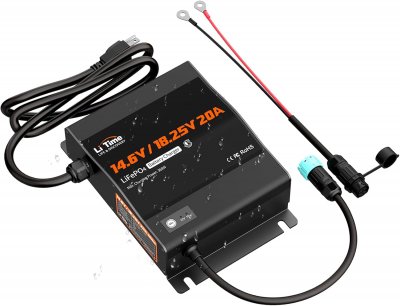
LiTime
12V &16V 20A Waterproof Charger
- 20A / 292W output
- 14.6V charge voltage
- 3-stage charging (CC/CV/float)
- Can wake dead BMS
- IP65 waterproof
- Wall-mountable
24V System Chargers
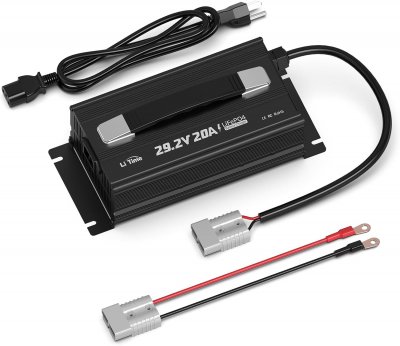
LiTime
24V 20A LiFePO4 Charger
- 20A / 584W output
- 29.2V charge voltage
- 3-stage charging (CC/CV/float)
- Can wake dead BMS
- Wall-mountable
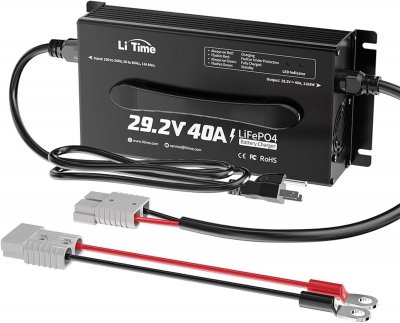
LiTime
24V 40A LiFePO4 Charger
- 40A / 1168W output
- 29.2V charge voltage
- 3-stage charging (CC/CV/float)
- Can wake dead BMS
- Wall-mountable
48V System Chargers
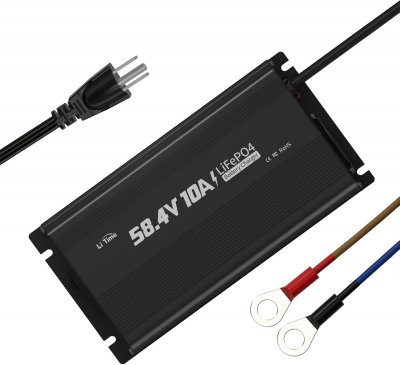
LiTime
48V 10A LiFePO4 Charger
- 10A / 584W output
- 58.4V charge voltage
- 3-stage charging (CC/CV/float)
- Can wake dead BMS
- Wall-mountable
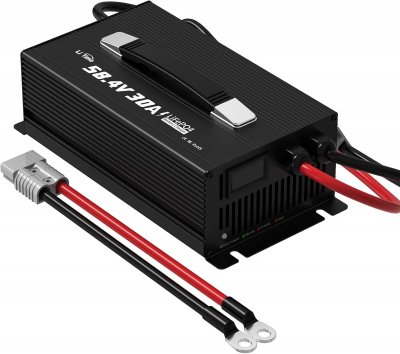
LiTime
48V 30A LiFePO4 Charger
- 30A / 1752W output
- 58.4V charge voltage
- 3-stage charging (CC/CV/float)
- Can wake dead BMS
- IP65 waterproof
- Wall-mountable
Disclosure: We may earn a commission from affiliate links at no extra cost to you.
Method 2: Direct Connection (Uncontrolled)
This method relies on brute force: connecting two batteries directly and letting them equalize through raw current. There is no current limiter — the wire itself is the only resistance.
Some people connect batteries directly positive-to-positive, negative-to-negative and let the voltages equalize on their own. This works, but the inrush current is only limited by wire resistance and the batteries' internal resistance. With LiFePO4 cells (very low internal resistance, typically 1-3 mΩ), the resulting current can be extreme.
Wire Gauge is Critical
Since there is no charger, no BMS current limit, and no resistor in the circuit, the interconnect cable is the only thing absorbing the current. If the wire is too thin, it will overheat and potentially catch fire.
| Voltage Difference | Wire Resistance (2 ft 4 AWG) | Inrush Current | What Happens |
|---|---|---|---|
| 0.05V | ~0.002Ω | ~25A | Usually OK, BMS handles it |
| 0.1V | ~0.002Ω | ~50A | High — may trip BMS on smaller batteries |
| 0.2V | ~0.002Ω | ~100A | Very high — exceeds most BMS limits |
| 0.5V | ~0.002Ω | ~250A | Dangerous — can weld connections, melt wire |
| 1.0V+ | ~0.002Ω | ~500A+ | Extremely dangerous — fire risk, BMS damage |
Minimum Wire Gauge for Direct Balancing
If you choose to direct-connect (at your own risk), you must use wire rated for the potential inrush current:
| Wire Gauge | Ampacity | Suitable For |
|---|---|---|
| 8 AWG | 50A | Not enough for direct balancing |
| 4 AWG | 85A | Minimum — only if ΔV < 0.1V |
| 2 AWG | 115A | Better, handles moderate inrush |
| 1/0 AWG | 150A | Good for most LiFePO4 batteries |
| 2/0 AWG | 175A | Recommended for large batteries (200Ah+) |
| 4/0 AWG | 230A | Best — handles worst-case scenarios |
Most LiFePO4 BMS units have overcurrent protection at 100-300A. Even with thick cables, the BMS may disconnect during the inrush spike. This is actually a safety feature — but it means you may need to reset the BMS by briefly disconnecting and reconnecting the battery.
Direct Connection (Uncontrolled)
| ΔV | 0.4V (unbalanced) |
| Rwire | ≈ 0.002Ω |
| Irush | ≈ 200A instantaneous |
| Min. cable | 2/0 AWG copper |
| Duration | Seconds (batteries equalize quickly) |
Method 3: Resistor-Limited Connection (Safer)
The best DIY approach if you don't have a charger for each battery: place a resistor or 12V incandescent light bulb in series between the batteries. This limits the current to a safe level while the voltages equalize.
How It Works
The resistor limits current by Ohm's Law: I = V / R. With a 1Ω resistor and 0.4V difference, current is only 0.4A — completely safe for any wire gauge.
Good Resistor Options
- 1Ω 50W power resistor — limits to <1A, balances in 30-60 min. Search Amazon for 50W resistor 4-packs
- 12V DC LED bulb with clamp wiring (6W–18W) — almost ready-made: comes with alligator clamps and switch, acts as a current limiter and visual indicator. Note: 6–18W bulbs will significantly slow down balancing compared to a 50W resistor. Search Amazon for 12V LED clamp lights
- 0.5Ω 100W resistor — faster balancing (~0.8A), still safe
Steps
- Connect the positive terminals directly (cable)
- Connect the negative terminals through the resistor/bulb
- Wait until the bulb goes out or multimeter shows <0.05V difference
- Remove the resistor and connect negatives directly
Resistor-Limited Balancing
- Current limited to <1A
- Any wire gauge works
- No BMS trip risk
- Takes 30–60 minutes
- Bulb dims as voltages equalize
What About Series Connections?
Series connections (positive of Battery A to negative of Battery B) do not have the same inrush problem. In series, the batteries don't try to equalize voltage with each other — they stack their voltages.
However, you should still charge each battery individually to the same voltage before connecting in series. This ensures the batteries are balanced at the cell level, which matters for long-term health:
- Unbalanced series batteries cause uneven charging — one battery may be overcharged while another is undercharged
- Over time this degrades cycle life and can trigger BMS protection on individual batteries
- Most BMS units in consumer LiFePO4 batteries are designed for that single battery only and cannot balance across series-connected units
Method Comparison
| Method | Safety | Time | Wire Gauge | Equipment | Best For |
|---|---|---|---|---|---|
| Individual charger | Safest | Hours (full charge each) | Any — no inrush | LiFePO4 charger + multimeter | All setups (recommended) |
| Resistor / light bulb | Safe | 30-60 min | Any — current limited | Power resistor or 12V bulb | No charger available, adding batteries to existing bank |
| Direct connection | Dangerous | Seconds | 2/0 AWG minimum | Heavy cables only | Not recommended |
System Calculator
Calculate your battery bank size, wiring, and see the wiring diagram with series/parallel layout.
Open CalculatorLiFePO4 Battery Reviews
Compare drop-in LiFePO4 batteries from Battle Born, Renogy, RELiON and more.
View Battery Comparison